
Menu
Every exterior paint job in Victoria lives or dies on what happens before the first coat goes on. A crew can use the best elastomeric coating on the market, but if the surface underneath wasn't properly cleaned, patched, and primed, that finish will crack, peel, or blister within a couple of years. Here's the checklist our crew runs through on every exterior project — and what you should look for if you're planning to prep any of it yourself.
Before anything else, walk the full perimeter of the house with a notepad or your phone. You're looking for peeling or flaking paint, hairline cracks in stucco or siding, soft or rotted wood around window trim, staining or mildew on north-facing walls, and gaps between the siding and trim where caulk has dried out and separated.
Victoria's coastal climate is hard on exteriors. Salt air, winter rain, and summer UV create a unique cocktail that accelerates surface breakdown. Most homes we see haven't been touched in 12 to 20 years, and the damage is almost always worse than the homeowner expects — particularly on the south and west walls where sun exposure is highest.

Exterior surfaces accumulate years of grime, mildew, pollen, and salt residue that are invisible until you hit them with a pressure washer. Painting over that layer is the number one cause of adhesion failure on coastal homes.
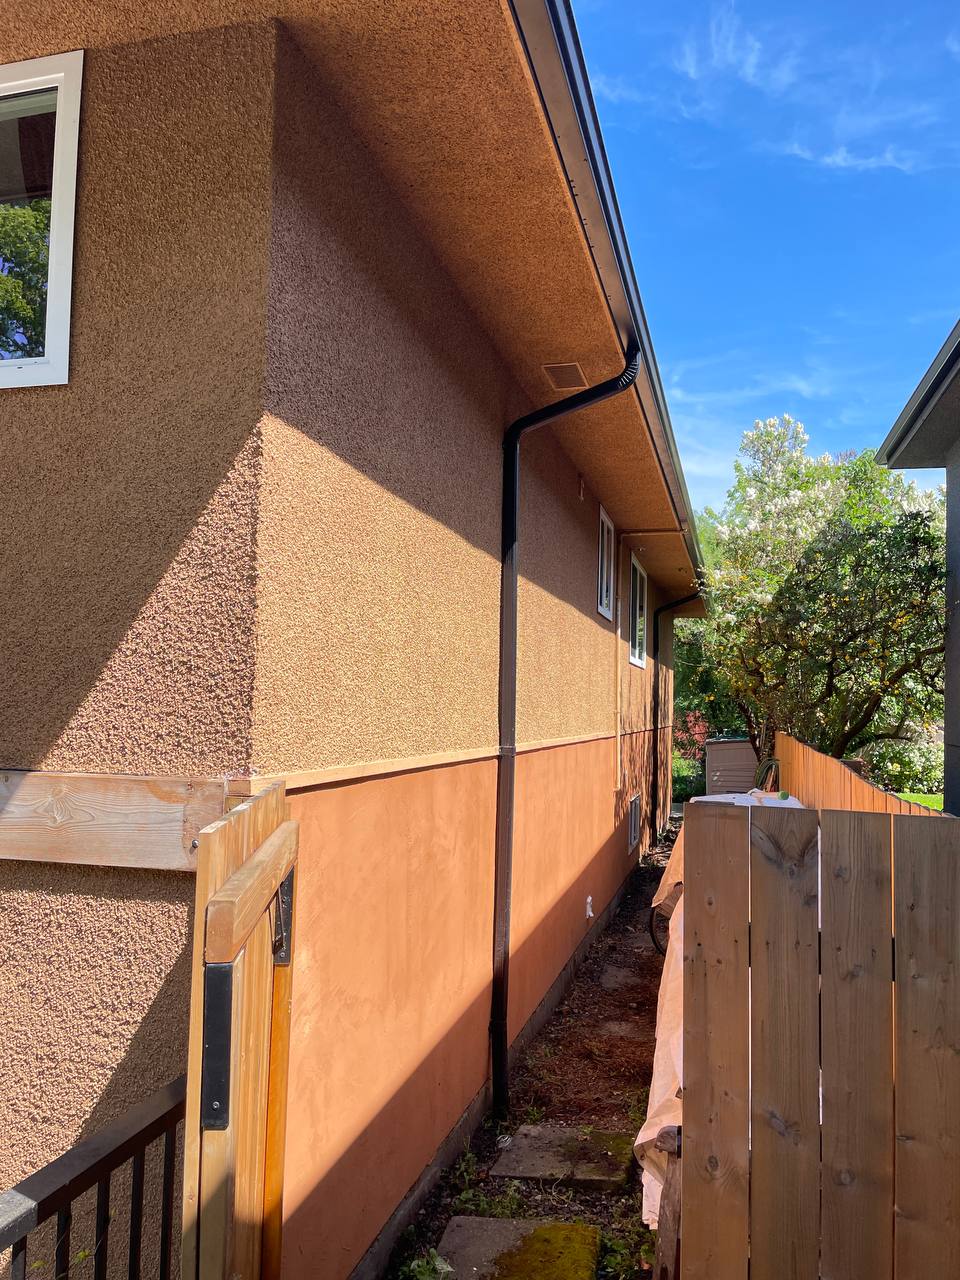
We pressure wash every square foot of the surface that will be painted, plus a buffer zone around it. For stucco, we keep the pressure moderate — around 1500 PSI — to avoid blowing out the texture. For wood siding and trim, we go even lower and keep the nozzle at a wider angle. The goal is clean, not stripped.
Allow at least 24 to 48 hours of dry weather after washing before you move to the next step. In Victoria, that usually means scheduling the wash for a stretch of clear days in late spring or summer.
Any paint that's already lifting needs to come off completely. Scraping sounds tedious, and it is — but skipping it means the new paint bonds to the old failing layer instead of the actual surface, and you'll be back to square one within a season or two.
After scraping, we sand the edges where old paint meets bare surface to create a smooth transition. This is called "feathering" and it prevents visible ridges under the new coat. On wood trim and fascia, a light orbital sand also opens the grain for better primer penetration.
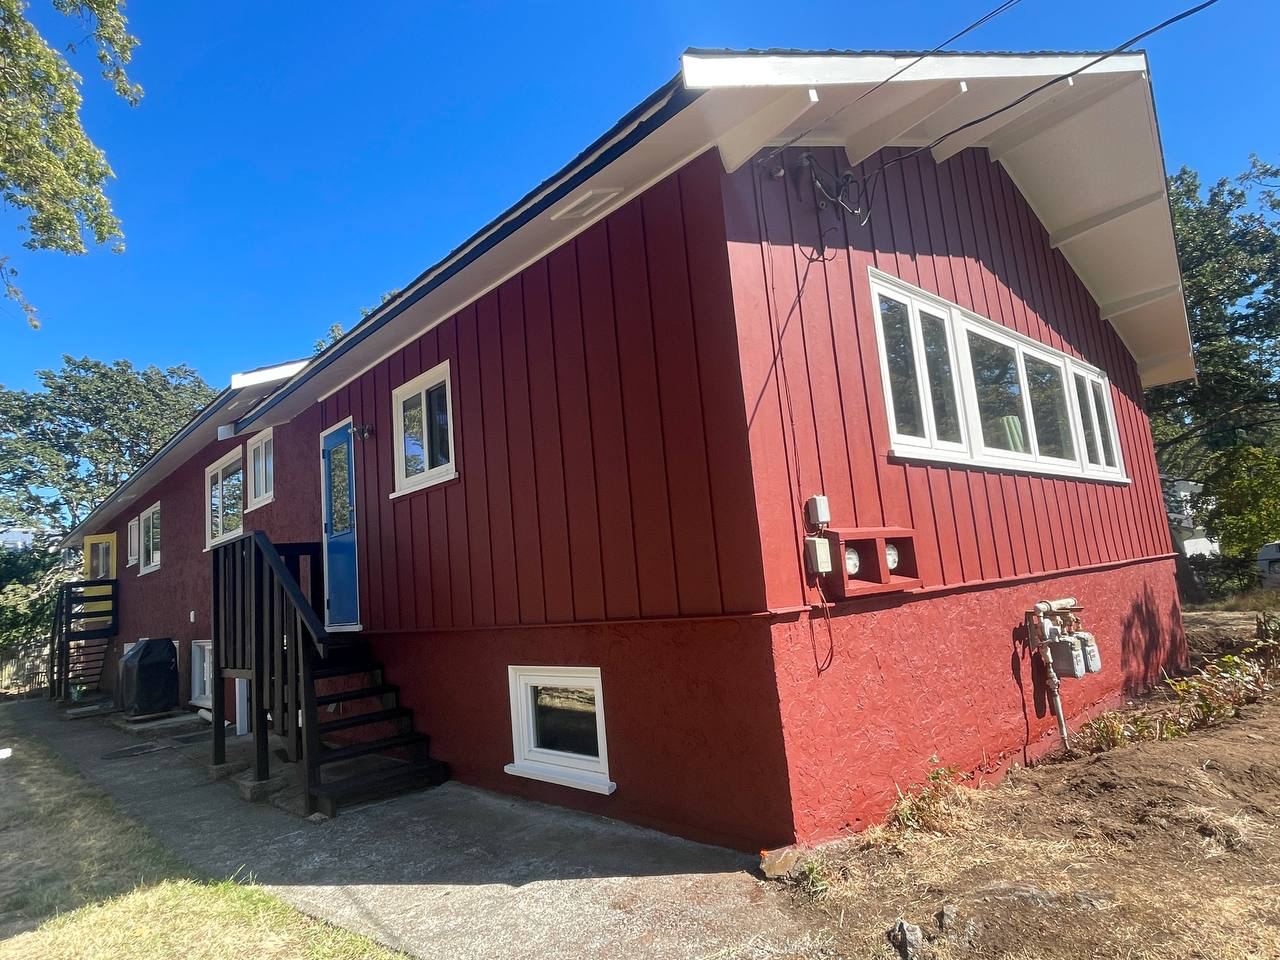
This is the step that separates a paint job that lasts three years from one that lasts ten. Stucco cracks get filled with a flexible elastomeric filler that moves with seasonal expansion. Rotted or punky wood trim gets cut out and replaced — not just painted over. And every gap where siding meets trim, or trim meets window frame, gets a fresh bead of exterior-grade paintable caulk.
Pay special attention to the areas around hose bibs, exterior outlets, light fixtures, and dryer vents. Water finds the smallest gap, and once it's behind the paint film, it pushes the coating off from underneath.

Any spot where bare wood, bare stucco, or fresh filler is exposed needs primer before topcoat. Primer does two things that topcoat paint alone cannot: it seals the porous surface so the topcoat absorbs evenly, and it provides a chemical bond layer that grips both the substrate and the finish coat.
For coastal Victoria homes, we use an alkaline-resistant masonry primer on stucco and a high-adhesion acrylic primer on wood. The primer coat doesn't need to look pretty — it needs to cover completely and cure fully before topcoat goes on.
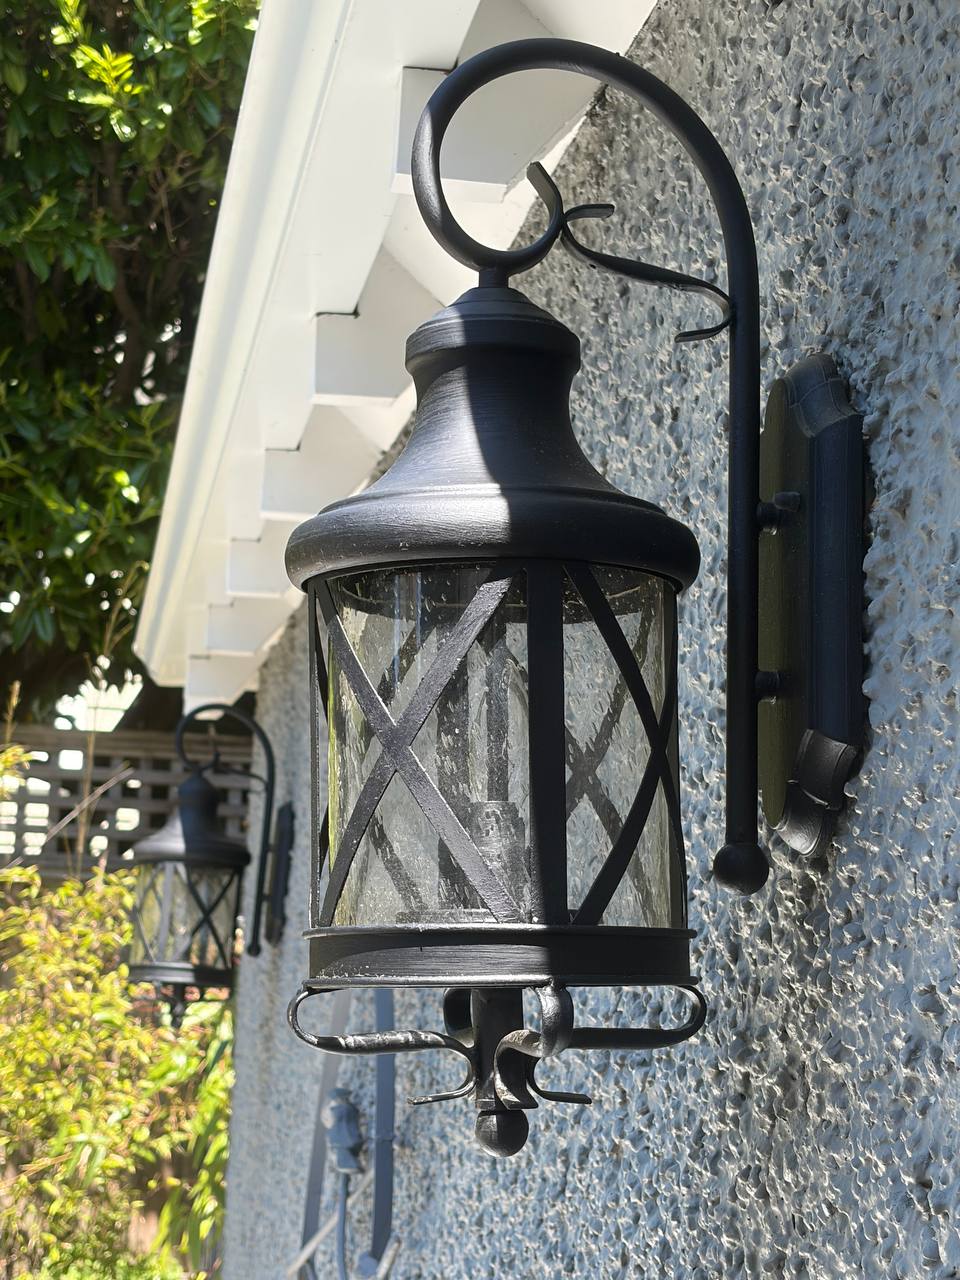
Before any paint is sprayed or rolled, the crew masks every surface that shouldn't get paint on it: windows and glass get taped and covered with plastic sheeting, exterior light fixtures get wrapped, downspouts either get removed or fully taped, and landscaping along the foundation gets covered with drop cloths.
This step takes longer than most homeowners expect — on a typical Victoria home, masking can take a full half-day. But it's dramatically faster to mask properly up front than to scrape overspray off glass and clean paint splatter out of shrubs after the fact.
Exterior paint needs specific conditions to cure properly: above 10 degrees Celsius, below 30, no rain for 24 hours after application, and ideally not in direct blazing sun. In Victoria, the reliable exterior painting window runs from mid-May through September, with June through August being the sweet spot.
Morning dew is the hidden hazard. Even on a dry day, surfaces can be damp until mid-morning from overnight condensation — especially on north-facing walls and under eaves. We typically don't start applying paint until 10 or 11 AM and stop by late afternoon so the last coat has time to set before evening moisture arrives.
If your home is single-storey with straightforward siding and you own a pressure washer, you can handle the wash, light scraping, and caulking yourself. The savings are real — prep labor is 60 to 70 percent of the cost of a professional exterior paint job.
But if your home has stucco, is two or more storeys, has significant wood rot, or hasn't been painted in 15-plus years, professional prep is worth every dollar. The risk of incomplete surface prep on a complex exterior shows up as peeling within two years — and then you're paying to do the whole thing again.

1. Walk the full perimeter and note every crack, peel, gap, and soft spot.
2. Pressure wash all painted surfaces — moderate PSI, wide nozzle for wood.
3. Scrape loose paint and feather-sand the transitions.
4. Patch stucco cracks, replace rotted wood, re-caulk every gap.
5. Prime all bare and repaired areas with the right substrate primer.
6. Mask windows, fixtures, landscaping, and anything you're not painting.
7. Wait for the right weather window — 10°C+, dry, no direct blazing sun.
If your home's exterior is overdue for a refresh, the prep work is where the quality lives. Call (250) 385-0478 or request a free quote here. We'll walk the property with you, assess the prep scope, and give you a written number that includes every step — cleaning, patching, priming, masking, and two full coats of finish.
Top Coat Painting serves Victoria, Esquimalt, Saanich, Oak Bay, Sidney, Langford, Colwood, Sooke, View Royal, Central Saanich, and the Gulf Islands. Fully insured. WCB-active since 2005.


